Swim Spa Cover Lift Options & DIY Ideas: Easy Guide
Across the United States, a swim spa cover has to handle more than daily use. Sun, wind, rain, snow, and tight deck layouts can all affect how you remove and store it. The right cover lift makes access easier, but it must fit the spa, the cover, and the space around them.
The main options are a manual pivot lift, an under-mount lift, a powered lift, or a separate rack or cart. For a do-it-yourself approach, focus on safe storage and easier handling—not on building an untested mechanism to hold a heavy cover over the spa.

Swim spa cover lift options
The best lift depends on your cover’s design, the spa’s mounting points, and the room around the unit. Swim spa covers may have several connected sections, so a lifter made for a small hot tub may not fit or move the cover as intended.
| Option | How it works | Usually suits | Main trade-off |
|---|---|---|---|
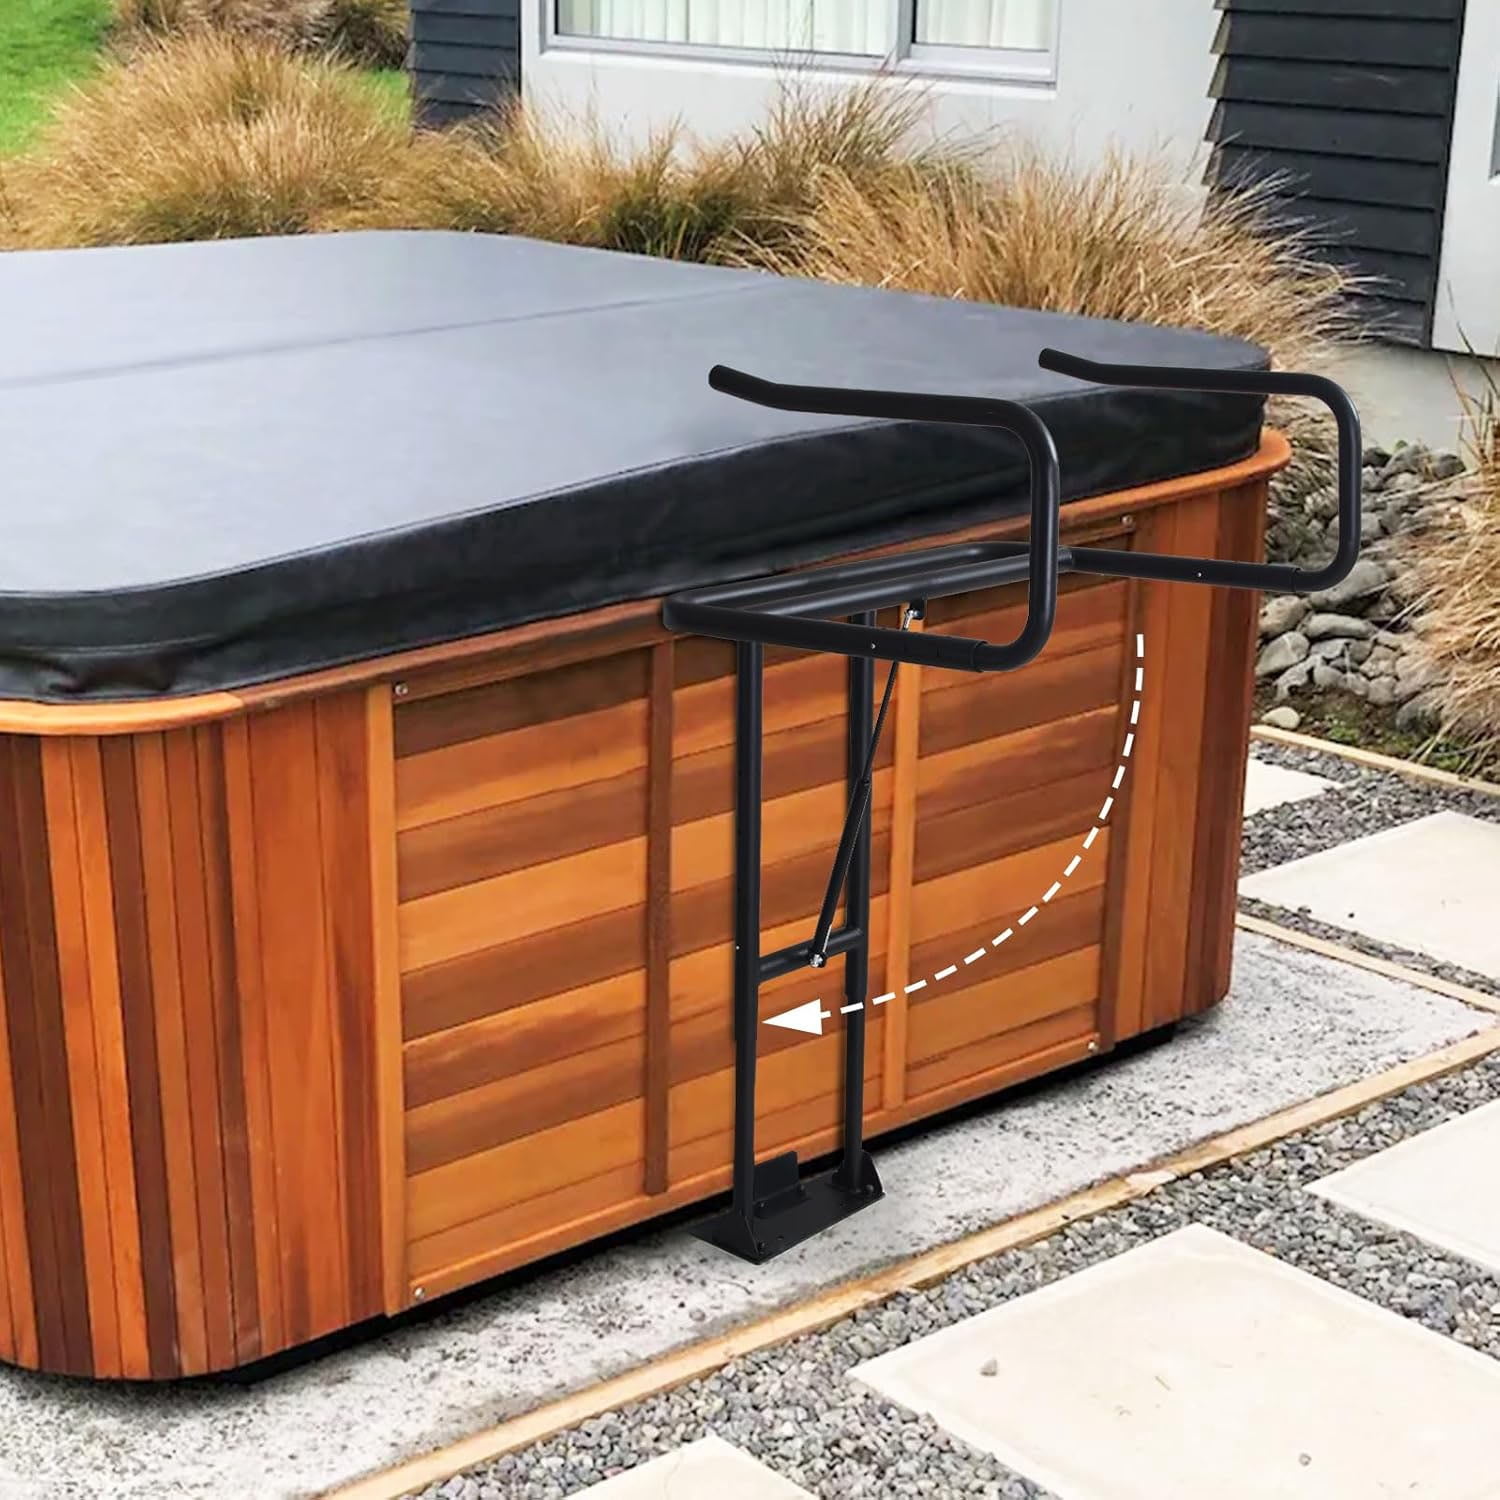
| Manual pivot lift | A frame pivots the cover away from the spa and holds it behind or beside the unit. | Owners with clear space at the end or side of the spa. | Needs room for the cover and frame to swing. |
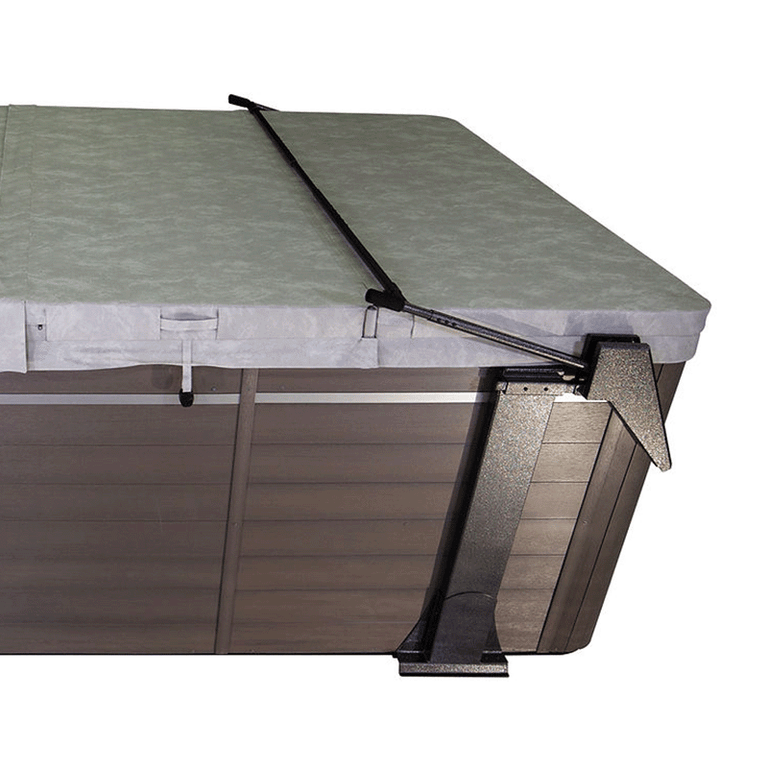
| Under-mount lift | Arms attach beneath the spa cabinet or its support frame. | Spas with a compatible base and enough access below the cabinet. | Fit depends on the spa’s structure and the lift maker’s instructions. |
| Assisted lift | Springs, gas struts, or another assist system reduce the effort needed to move the cover. | Owners who want help lifting but do not need a motor. | Assist parts must match the cover’s weight and lift design. |
| Powered lift | A motor moves a compatible cover system. | Owners who want powered movement and have a supported spa and cover setup. | Requires compatible equipment and may need power and service. |
| Slide-off system | The cover moves along a track or guide rather than pivoting. | Some long spas with a suitable path beside or behind them. | Needs a clear, level route and compatible cover sections. |
| Separate rack or cart | The cover is removed and placed on a freestanding support. | Owners who can lift or move the cover safely and have storage room. | The cover is not held by the spa; handling and storage take more space. |
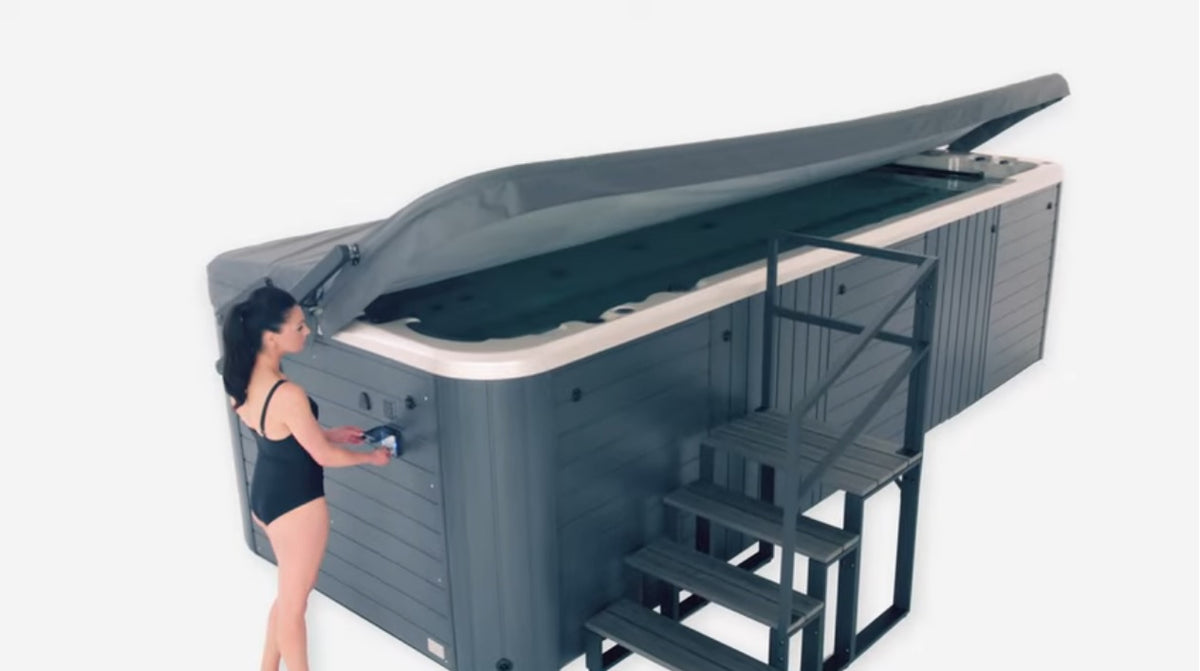
A manual pivot lift is a common starting point because it keeps the cover attached to the spa during opening. Check the full swing path before choosing one. A fence, wall, railing, or overhead structure can block the frame even when the spa itself appears to have enough clearance.
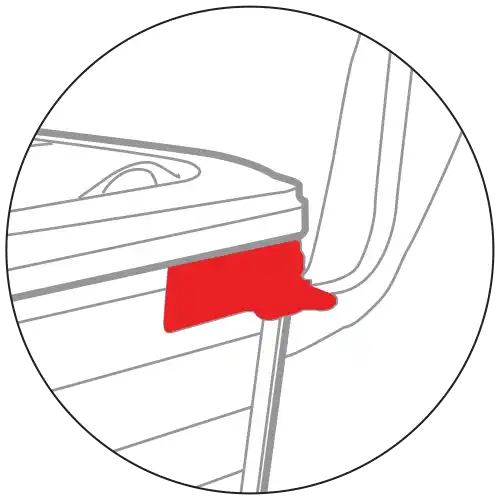
An under-mount lift may keep the outside of the spa cabinet clear, but the spa must have a suitable mounting structure. Do not assume the cabinet panels can carry the load. The spa manual or manufacturer should confirm where, and whether, a lift can be attached.
A powered lift can reduce manual effort, but it does not make an incompatible cover safe to move. Confirm that the lift is made for the exact spa and cover arrangement, and ask whether installation requires a qualified technician.
How to choose a lift that fits
Start with the spa and cover manuals, then measure the space the lift will use. A lift can be the right style in general and still fail to fit a particular swim spa.
Check these details before buying:
- Spa make and model: Find the model name and any installation or owner documents. Ask the spa maker or dealer which lift systems are approved for that model.
- Cover type: Note whether the cover is one piece, split into sections, hinged, or made to roll or slide. A system for a folding hot tub cover may not work with a long swim spa cover.
- Mounting points: Confirm whether the lift attaches to the spa frame, cabinet, deck, or another support. Do not drill into the spa unless the manufacturer allows it and identifies the safe location.
- Clearance: Measure the space behind and beside the spa. Include the full path of the moving arms, the cover when open, and room for a person to stand and move.
- Surface and access: Check that the route is level and clear. Look for steps, narrow gates, slopes, drains, and objects that could block a cover cart or slide-off system.
- Local weather exposure: Consider wind, snow, rain, and direct sun. The lift and stored cover must be secured and used as their manufacturers direct.
- Warranty and service: Ask whether drilling, added hardware, or a non-approved lift could affect the spa or cover warranty.
Use the following comparison as a first filter. It does not replace a model-specific fit check.
| Your constraint | Option to investigate first | What to verify |
|---|---|---|
| Little room at the end of the spa | Side-mounted or under-mount system | Side clearance, mounting points, and cover swing path |
| Limited room beside the spa | End-mounted pivot system or compatible powered system | Rear clearance and lift height |
| No safe place to attach a lift | Freestanding rack or cart | Cover weight, support points, storage space, and stability |
| A heavy or awkward cover | Compatible assisted or powered lift | Rated cover size, installation needs, and service support |
| A multi-section cover | Swim spa-specific system | Section layout, folding direction, and whether the system supports every panel |
Do not judge fit by spa length alone. The cover width, panel layout, cabinet shape, and the amount of space needed to move the cover can matter just as much.

DIY swim spa cover lift ideas
The safest DIY projects improve grip, handling, or storage without changing the cover’s support system. A homemade arm or bracket that lifts a cover over the spa can fail, damage the spa, or injure someone if it is not designed for the real load and attachment points.
Lower-risk DIY ideas
- Add a storage cart for a removable cover. Use a cart intended for the cover’s size and weight, or have a qualified builder design one. The cover should rest on broad, even supports rather than on a hinge, edge, or small contact points.
- Build a stationary storage rack. A rack can keep a removed cover off the ground and out of a walkway. It must be stable, sized for the cover, and protected from wind and weather. Do not store a cover upright unless its maker permits that position.
- Improve the handling area. Clear the path, add non-slip footing where appropriate, and move furniture or other obstacles. A clear route can make manual removal safer without altering the spa.
- Replace worn handles with approved parts. Use handles made for the cover or a replacement recommended by its maker. Do not attach a handle by piercing the cover skin or foam.
- Label the panel order. If the cover has removable sections, mark the order and orientation as the manufacturer allows. This can help prevent panels from being folded or placed incorrectly.
A safe DIY planning sequence
- Read the cover and spa instructions. Confirm whether the cover can be removed by hand, how its sections should fold, and how it should be stored.
- Get the cover’s weight and dimensions. If the manufacturer does not provide them, ask the dealer. Do not guess based on appearance.
- Choose the storage method. Decide whether the cover will sit on a cart, rack, or approved lift. Plan where it will go before removing it.
- Check support and stability. Make sure the planned support can hold the full cover without tipping, bowing, or pressing on seams. Use a qualified builder if the structure needs to carry a significant load.
- Test the route with the cover closed and secured. Confirm that people can move around the spa and that the cover will not block an exit, gate, or service panel.
- Follow the cover maker’s storage rules. Keep the cover away from sharp edges and heat sources, and secure it against wind when stored.
A sign of a sound setup is simple: the cover moves or rests without bending, dragging, scraping the spa, or requiring someone to hold an unstable frame. If the cover feels stuck, twists, or shifts on its support, stop and reassess the setup.
Installation and safe use
Use the lift only as its instructions allow, and stop if the frame binds or the cover shifts. A lift is a handling aid, not a reason to stand under an unsupported cover or force a jammed mechanism.
Before installation, confirm the exact model and parts. Follow the maker’s directions for mounting, fasteners, spacing, and any required tools. If instructions call for attachment to the spa structure and the correct attachment points are unclear, contact the spa maker or a qualified installer.
During use:
- Keep hands, feet, and clothing away from hinges, pivots, tracks, and pinch points.
- Keep children and pets clear while the cover moves.
- Do not sit, stand, or place heavy objects on the cover or lift.
- Do not use the lift in strong wind if the cover can catch the wind or the instructions prohibit use.
- Secure the cover as directed when it is open or stored.
- Do not leave a cover resting where it can fall into the spa or block a walkway.
A cover can be awkward even when a lift is installed. If the system does not move smoothly, stop rather than adding force. Check for a blocked path, loose hardware, misalignment, or a part that needs service. Do not remove a load-bearing part while the cover is in motion.
Common mistakes to avoid
Most fit and safety problems come from choosing a lift before checking the cover, mounting surface, and clearance. A few basic checks can prevent costly damage and unsafe handling.
- Buying a small-spa lift for a swim spa: The cover’s length, width, and panel layout may exceed the lift’s design. Verify the exact model and cover compatibility.
- Assuming the cabinet can hold the lift: Cabinet panels may not be structural. Use only approved attachment points.
- Ignoring the open position: Measure where the cover and arms go after opening, not just the spa’s footprint.
- Building a homemade lifting arm without a design rating: A frame that looks sturdy may still bend, tip, or pull out of its anchors. Use a compatible, rated system or get a qualified design.
- Leaving a cover unsecured: Wind can move a cover or rack. Follow the cover and lift instructions for securing it.
- Forcing a stuck mechanism: Binding can point to an obstruction, poor alignment, or damaged hardware. Stop and inspect before trying again.
- Treating a thermal blanket as a rigid cover: A floating blanket may need different handling and storage. Use the instructions for that exact product.

Frequently asked questions
Can I use a hot tub cover lifter on a swim spa?
Sometimes, but do not assume it will fit. Swim spa covers can be longer or use different panels and mounting points. Confirm compatibility with the lift and spa manufacturers before ordering.
Can I make a swim spa cover lifter from wood or metal?
A DIY rack for storing a removed cover may be practical if it is designed for the cover’s size, weight, and storage position. A homemade frame that lifts or holds a cover over the spa is riskier. Use a purpose-built compatible lift or get a qualified professional to design the structure.
Can one person remove a swim spa cover?
That depends on the cover, its condition, and the approved handling method. Do not try to lift or fold a cover alone if it feels too heavy, awkward, or unstable. Use a compatible lift or ask another adult to help, following the maker’s instructions.
Does a cover lift protect the spa from heat loss?
A lift mainly helps move and store the cover. Heat retention depends on the cover’s condition, fit, and insulation, as well as the spa and how it is used. A lift does not repair a damaged cover or improve its insulation by itself.
What should I do if the cover lift does not fit?
Stop before drilling or altering the spa. Recheck the spa model, cover layout, mounting instructions, and clearance measurements. Ask the spa maker or lift supplier for a compatible option; if no lift fits, consider safe manual removal with an approved cart or rack.
Key takeaways
- Match the lift to the exact swim spa and cover, not just the spa’s general size.
- Measure the full opening and storage path before choosing a pivot, slide-off, or powered system.
- Use DIY projects for handling and storage unless a qualified professional designs a load-bearing lift.
- Follow the spa, cover, and lift instructions, and stop if the system binds or shifts.
Conclusion
For most owners, the best starting point is a swim spa-specific lift approved for the spa and cover. If no compatible lift fits the space, a stable storage cart or rack may be a safer DIY route than a homemade overhead frame. Before buying or building anything, confirm the cover details, mounting method, and clearance with the spa or lift maker.
Research note: I could not live-check current manufacturer manuals or product availability for this article. No model-specific fit, load rating, or warranty claim is asserted; verify those details in the current instructions for your spa, cover, and lift.