Small Kitchen Gadget Storage That Actually Frees Up Space
In a small kitchen, the real problem is not “too many gadgets.” It’s that every gadget is fighting for the same six inches of usable space. If a mixer, air fryer, garlic press, and coffee grinder all live on the counter, the kitchen starts feeling smaller every day.
The fix is not a bigger bin or another cute organizer. It’s a storage system built around frequency, reach, and workflow. Think of it the way you’d manage a crowded google account or gmail google inbox: the items you use most should be the easiest to access, while the rest get filed away where they do not slow you down.
That means keeping daily tools close, moving seasonal appliances up or out, and using vertical, hidden, and drawer space with intention. If you also need to cut clutter first, pair this guide with our minimalist kitchen essentials list so you only store what actually earns its place.
Start with a keep, relocate, or ditch gadget audit
Featured snippet answer: Store kitchen gadgets in a small kitchen by keeping only daily-use items within arm’s reach, using vertical wall and cabinet-door space, nesting similar tools, and moving rarely used appliances to higher shelves or off-site storage. Group gadgets by task, not by type, for faster access and less clutter.

A small kitchen usually has cabinet depths between 12 and 24 inches and counter depth around 24 inches, but many countertop appliances still claim 1 to 2 square feet each. That math gets ugly fast. Before buying anything else, sort every gadget into three piles: keep, relocate, or ditch. This is the same kind of triage people use when they clean up a messy account gmail setup or reorganize gmail app folders on a phone tablet versus a computer. Access matters more than volume.
The 3-use rule
Keep only gadgets used 3 or more times per week in the easiest storage zone. That usually means a top drawer, a lower cabinet near prep space, or a counter-side shelf. A garlic press used once a month does not deserve the same real estate as a chef’s knife or cutting board. Rare-use gadgets can live higher up, farther away, or in a tote outside the main kitchen.
The footprint test
Measure width, height, depth, and plug clearance before assigning a home. A blender that is 8 inches wide and 17 inches tall may fit on paper, but if the cord needs 3 extra inches and the lid needs overhead clearance, it will still annoy you every time you reach for it. I like to leave 1 to 2 inches of air around frequently grabbed items so they slide out without snagging.
Duplicate tools that should be merged
Some gadgets are just redundant. A garlic press and microplane overlap for many cooks. A blender and immersion blender often cover the same jobs, especially in a small kitchen. A rice cooker plus multi-cooker can be overkill unless you truly cook rice several times a week and use the other functions often. If two tools do the same job, keep the one that stores better and gets used more.
If your kitchen is already overloaded, this is also the right moment to look at our best kitchen gadgets worth buying guide before replacing old tools. The goal is not to own fewer things for the sake of it. The goal is to own better-fitting things that earn their footprint.
Build storage around movement zones, not cabinet categories
The easiest-to-reach storage should sit between knee and shoulder height, because that is the fastest and safest access zone for daily cooking. Overhead cabinets are slower, and they also become a shoulder-bump hazard if you are pulling out hot pans or a bulky gadget. In a small kitchen, you want the first 10 seconds of cooking to feel frictionless.

Prime zone
Put daily gadgets near the prep surface or in the top drawer closest to where you chop, mix, and season. Think: peeler, measuring spoons, microplane, can opener, kitchen shears, immersion blender, and the one coffee tool you touch every morning. If you use it every day, it should not be buried behind serving platters.
Secondary zone
Weekly gadgets belong in upper cabinets, pantry shelves, or a lower shelf that still opens easily. This is where the waffle maker, food mill, hand mixer, or specialty slicer can live. You should be able to retrieve them in under 15 seconds without moving three other items first. If it takes longer, the storage is too deep.
Overflow zone
Seasonal or specialty tools belong in bins, a basement shelf, a closet, or any off-site storage you can access without a fight. Holiday cookie cutters, fondue gear, ice cream machines, and duplicate serving sets are classic overflow items. A small kitchen works better when the main zone is reserved for actual daily cooking.
Think of kitchen storage like a clean email inbox: the more often you need an item, the closer it should sit to the front. Everything else can be archived without making the system harder to use.
Use vertical space without making the kitchen feel crowded
Vertical storage is the fastest way to create room in a small kitchen, but only if you keep it light and intentional. Wall rails, pegboards, magnetic strips, under-shelf baskets, and door-mounted racks can all work. The mistake is hanging too much at eye level until the room feels like a hardware aisle.
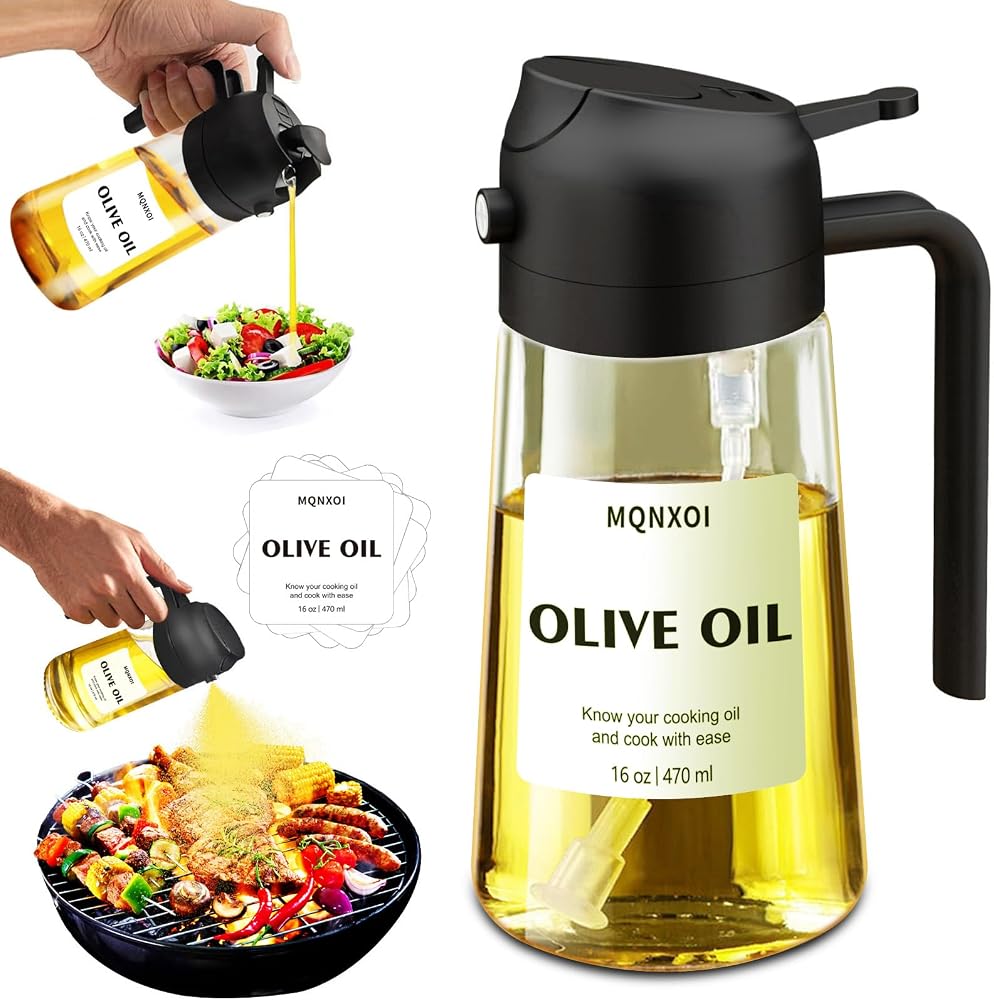
Wall storage that earns its keep
Pegboards work best for lightweight items like measuring cups, oven mitts, and small strainers. Rail systems are better for utensils, ladles, and tools you grab constantly. For renters, adhesive or tension-mounted systems are usually safer than drilling. If you want more ideas, this pairs well with our best unique kitchen gadgets and tools roundup, especially for compact tools that store cleanly on rails or hooks.
Cabinet-door storage
Cabinet doors are prime real estate for flat or slim items: wraps, lids, cutting boards, measuring sheets, and shallow gadget packs. A door rack should not block shelves or prevent the door from closing fully. I like to keep the loaded depth under 2 to 3 inches so you do not lose interior shelf space behind it.
The air gap rule
Leave 1 to 2 inches of clearance around stored items so your hand can grab them without scraping neighboring tools. This matters more than most people think. If a gadget has to be wrestled in and out, it will end up on the counter. And then the whole system falls apart.
For renters who need removable solutions, our best kitchen gadgets worth buying guide is a useful next stop, especially if you want storage-friendly tools instead of bulky one-off gadgets.
Make drawers do more than hold utensils
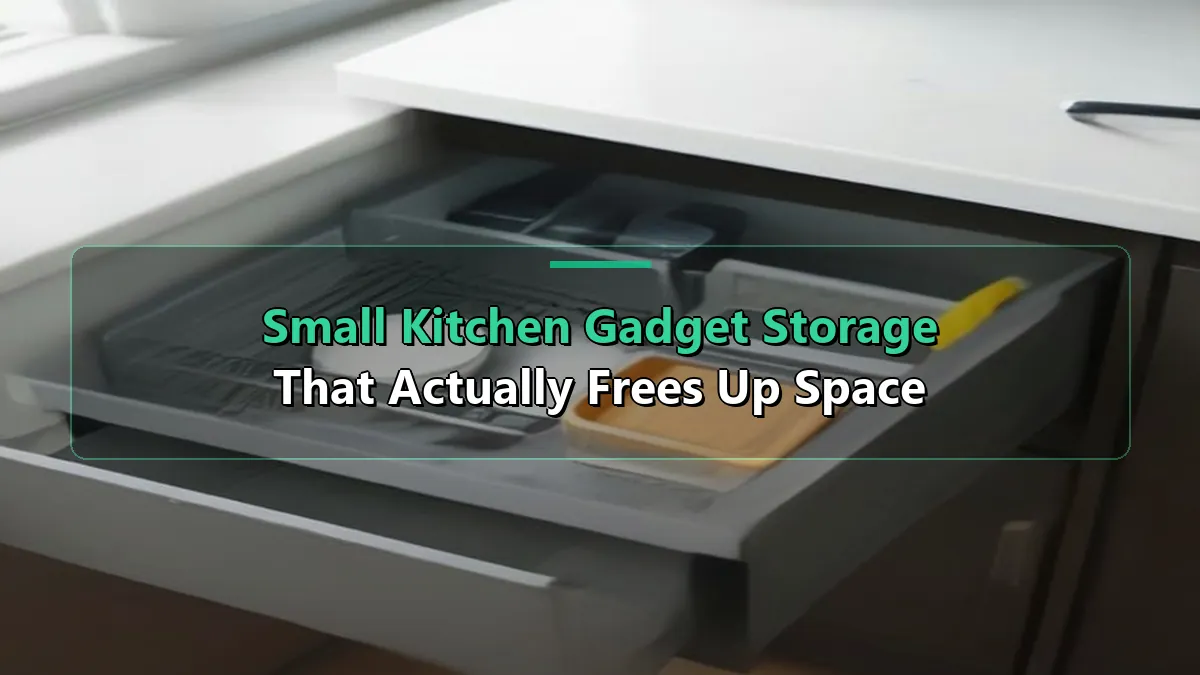
Drawers are the best storage in a small kitchen because they hide clutter and keep the first-use items close. Shallow drawers typically work best for small gadgets, while deeper drawers can handle bulkier tools if you divide them properly. A badly organized drawer is just a horizontal junk pile.

One drawer = one task
Give each drawer a job: baking, coffee, prep, cleanup, or repair. That sounds strict, but it saves time. When your baking sheets, spatulas, measuring tools, and parchment all live together, you stop wandering the kitchen looking for the one missing piece. The system should match how you cook, not how the store labels the products.
Nesting and stacking
Nest measuring cups, measuring spoons, peelers, and small whisks in matched sets. Stack by shape, not by random size. A set of measuring cups should live together, not scattered across three drawers. The same goes for small silicone tools and pastry brushes. Grouping similar objects reduces the “search tax” every time you cook.
Stop the junk drawer creep
Use labeled trays and set a hard limit on categories. If a drawer already holds tape, batteries, rubber bands, and three mystery screws, it is not a kitchen drawer anymore. I’ve seen this happen in plenty of small apartments: the drawer starts as “temporary storage” and becomes permanent clutter. That is not organization. That is avoidance.
| Storage zone | Best for | Typical capacity | Pros | Watch-outs |
|---|---|---|---|---|
| Top drawer | Daily gadgets, small tools | 10–25 items | Fast access, clean look | Can become cluttered fast |
| Lower cabinet | Medium gadgets, bowls, mixers | 2–6 larger items | Good for weight, hidden storage | Harder to reach if deep |
| Upper cabinet | Weekly gadgets, backups | 3–8 items | Uses unused vertical space | Slower access, less safe overhead |
| Wall/door storage | Flat tools, lightweight items | 8–20 small items | Frees cabinet space | Must stay visually tidy |
| Overflow bin | Seasonal or specialty gadgets | As needed | Clears the kitchen fast | Easy to forget what’s inside |
If your drawers are already overflowing, this is a good time to study how to organize kitchen drawers. A better drawer layout often solves more than buying a new organizer ever will.
Hide bulky gadgets without losing access
Bulky appliances are the usual reason a small kitchen feels crowded. Countertop triage solves that. Keep only the 1 to 2 appliances you use daily visible, and store the rest in a pull-out shelf, appliance garage, or rolling cart. If it takes a two-handed lift and a clearing of surrounding items every time you use it, it should not live on the counter.
Countertop triage
Visible counters should hold only the appliances that earn daily use: coffee maker, toaster, or maybe an electric kettle. Everything else should move off the main work surface. The counter is not a showroom. It is prep territory.
Pull-out shelf math
Measure the appliance height plus 2 to 4 inches of hand clearance, and then account for cord length. A stand mixer that is 14 inches tall may need a shelf opening closer to 18 inches if you want to lift it out comfortably. Also check vent placement. Some appliances need air space around the rear or side vents, or they overheat in tight cabinets.
Rolling cart as a pressure valve
A slim rolling cart works when cabinets are full but floor space still exists. It is especially useful for gadget-heavy cooks who want a mobile home for blenders, air fryers, or baking tools. The cart should be narrow enough to slide beside a fridge or into a gap, usually around 8 to 12 inches wide for tight spaces.
For more appliance-specific ideas, our small kitchen appliance storage ideas guide covers pull-outs, lift shelves, and hidden homes that actually work in real kitchens.
Storage decisions that reduce daily friction
The best storage setup shortens your cooking path. That means prep tools near the cutting board, baking tools near the oven, and coffee gear near the kettle or outlet. If you have to cross the kitchen three times just to start breakfast, the layout is working against you.
Store by task sequence
Group gadgets by what happens before, during, and after cooking. Prep tools should live near the sink or prep counter. Baking tools should live near the oven. Cleanup tools should live near the dishwasher or sink. This is the same logic people use when they switch between sign gmail on a computer and accounts sign on a phone tablet: the system should follow the user, not the other way around.
Put heavy items low
Stand mixers, Dutch ovens, food processors, and cast-iron accessories should sit below shoulder height. A heavy item stored overhead is not clever. It is annoying and a little unsafe. Lower storage also protects shelves from stress and makes lifting less awkward. If a gadget weighs more than about 10 to 15 pounds, give it a stable low spot.
Keep charging and cords under control
Battery-powered gadgets need one dedicated charging zone. Otherwise, cords spread across the kitchen like vines. Use one outlet zone, one cable tie, and one charging tray. If a gadget is cordless but lives permanently plugged in, it is still taking up visual space. Hidden charging makes the whole room feel calmer.
Small-kitchen setups that actually work in real life
No two small kitchens are the same. A studio apartment, a galley kitchen, and a rental with no pantry each need a different storage plan. The key is to match the solution to the layout instead of forcing a one-size-fits-all system.
Rental-safe solutions
Use adhesive hooks, tension rods, over-the-door organizers, and freestanding racks if you cannot drill holes. These options are not glamorous, but they are practical and reversible. In rentals, the best storage is the kind you can remove without losing your deposit.
For zero-counter kitchens
Use stackable bins, one dedicated appliance shelf, and a strict counter rule: only daily-use items stay out. If you have no pantry, you need a storage hierarchy even more than usual. One shelf can hold a surprising amount if every object has a category and a limit.
For gadget-heavy cooks
Rotate seasonal tools and store backups elsewhere. If you bake heavily in December but barely touch the mixer in summer, it does not need counter space year-round. Same for specialty gadgets like pasta rollers, cake decorators, or sous vide gear. The kitchen should support your habits, not your fantasy life.
If your whole kitchen needs a reset, the minimalist kitchen essentials list can help you decide what stays in the main zone and what gets rotated out.
What to buy vs. what to skip
Good organizers usually cost far less than the space they save. A set of drawer dividers might run $10 to $30. Shelf risers often fall in the $12 to $25 range. Wall rails and hooks can cost more, but they usually pay off by freeing a whole cabinet. The better question is not “Is it cheap?” It is “Does it save enough space to matter?”
Worth buying
Drawer dividers: Best for separating tools by task and preventing drawer drift.
Shelf risers: Useful for doubling usable shelf height.
Wall rails: Great for lightweight daily tools.
Bin labels: Cheap, simple, and surprisingly effective.
Usually not worth buying
Oversized carousel organizers: They often eat more space than they save.
Novelty racks: Cute, but rarely efficient.
One-purpose holders: If it only stores one odd item, skip it unless that item is truly a daily use object.
Decision rule
If the organizer takes up more space than the gadget it stores, do not buy it. That rule cuts through a lot of marketing noise. It also keeps you from turning a small kitchen into a storage store.
Practical setup plan you can finish in one afternoon
Start with a fast sweep: clear one counter, empty one drawer, and pull out every gadget you use in a typical week. Sort them into keep, relocate, and ditch piles. Then assign storage by zone, not by random open space.
Here is the order that usually works best:
- Step 1: Keep only daily-use gadgets on the counter or in the closest drawer.
- Step 2: Move weekly gadgets to upper cabinets or secondary shelves.
- Step 3: Push seasonal items into bins or overflow storage.
- Step 4: Add one vertical system, one drawer system, and one hidden appliance solution.
- Step 5: Re-check cord length, door swing, and grab clearance.
This is not a full remodel. It is a storage reset. That distinction matters.
People Also Ask
These are the questions people usually ask after they realize small-kitchen storage is really about access, not just tidying.
What kitchen gadgets should not be stored on the counter?
Any gadget used less than 3 times per week should usually leave the counter. That includes waffle makers, food processors, stand mixers, specialty blenders, and most single-use appliances. Keep only the items that support your daily routine, such as a coffee maker or toaster, if they truly earn that spot.
How do you store appliances in a kitchen with no pantry?
Use a mix of upper cabinets, lower cabinets, a rolling cart, and one designated appliance shelf. Store the heaviest items low, the most used items near prep space, and seasonal appliances in bins elsewhere. A no-pantry kitchen needs zones more than it needs a single perfect cabinet.
What is the best way to store lids, tools, and small gadgets together?
Use a drawer with dividers or a cabinet-door rack for flat items, then keep small gadgets grouped by task inside labeled trays. Lids should stay vertical if possible, because stacked lids waste time and create noise. The best setup is the one that lets you return everything in under 10 seconds.
How many gadgets should a small kitchen realistically keep?
Most small kitchens work best with a core set of about 15 to 30 frequently used gadgets, depending on how much you cook. That number is not fixed. A serious baker may keep more, while someone who mostly reheats and sautés may need fewer. The right number is the one that fits your space without crowding the workflow.
How do I organize a pantry in a small kitchen?
Use the same zone logic: keep daily items at eye level, heavy items low, and backups high or in bins. If you need a deeper reset, our how to organize a pantry in a small kitchen guide walks through shelf zoning, labeling, and overflow control in a compact layout.
Should I store gadgets by type or by task?
By task, almost always. A prep drawer should hold prep tools, a baking zone should hold baking tools, and coffee gear should live near the coffee setup. Grouping by type sounds tidy, but grouping by task cuts cooking time and reduces the number of places you need to check.
If you want the cleanest path forward, start by keeping only the gadgets that support your real cooking habits, then build storage around those habits. That is how a small kitchen stops feeling crowded and starts working like a system.